How to Make Milk Kefir

Making homemade milk kefir is easier than you think! With live milk kefir grains, fresh milk, and a little patience, you can make your own traditionally fermented milk drink at home.

In this easy step-by-step guide, I'll show you how to use your kefir grains, what to keep in mind during fermentation, and how to enjoy your homemade milk kefir.

Step 1

Prepare Your Kefir Grains

Place your fresh milk kefir grains in a clean glass jar. Make sure the jar and all utensils are thoroughly cleaned before use.

Step 2

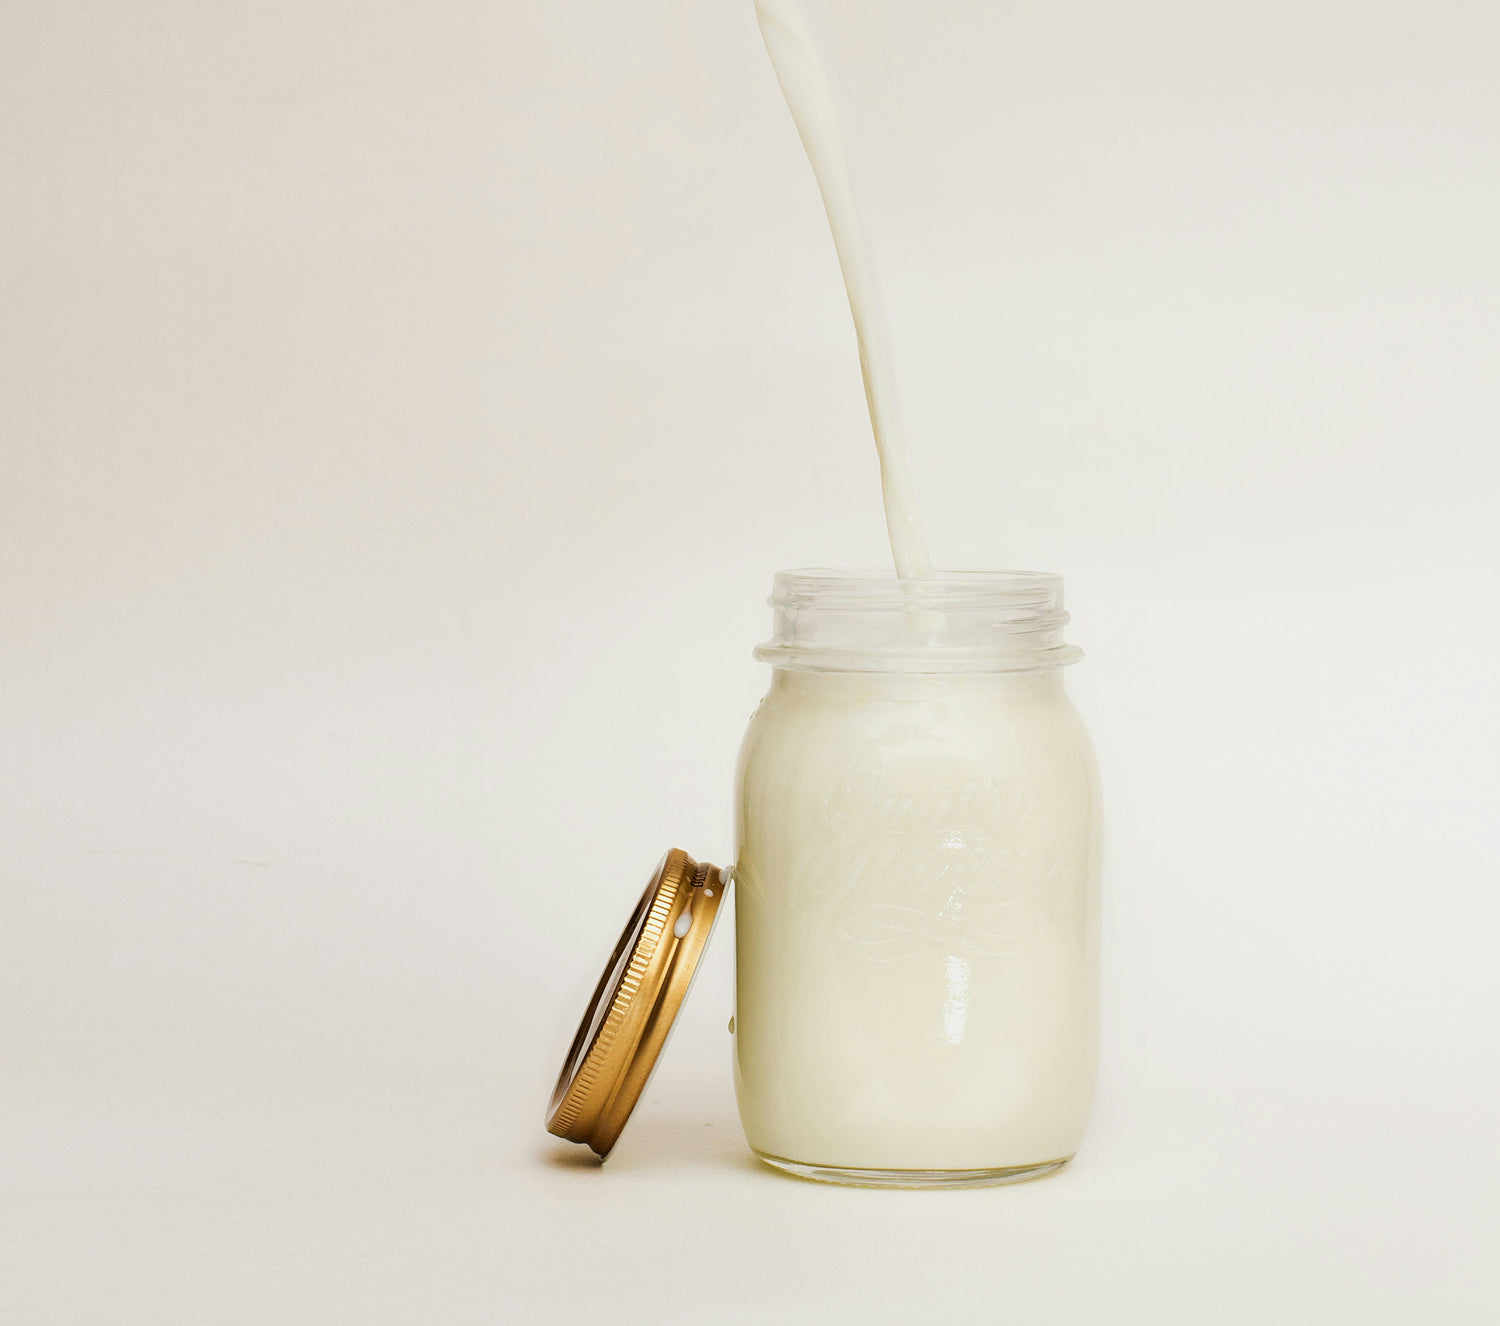
Add Milk

Pour milk over your kefir grains. As a guideline, I recommend using approximately 10 g of milk kefir grains for up to 500 ml of milk or 20 g for up to 1 liter of milk.

Step 3

Let It Ferment

Cover the jar with a lid and leave it at room temperature for 24 to 48 hours.

Step 4

Strain & Enjoy

Once your milk kefir has developed the desired consistency and its characteristic tangy flavor, pour it through a clean strainer to separate the kefir grains.

Store your finished milk kefir in the refrigerator. You can reuse the strained kefir grains to start your next batch.

It's That Easy!

With every new batch, you'll get to know your kefir cultures better and learn how to adjust the fermentation time to suit your taste. Whether you prefer your milk kefir mild and creamy or a little stronger and tangier, discover how versatile homemade milk kefir can be!

With proper care, you can reuse your kefir grains again and again, making traditional kefir fermentation a regular part of your kitchen routine.

Good to know: Every order of our milk kefir grains includes access to a practical step-by-step guide via an enclosed QR code, with additional tips on caring for and storing your kefir cultures.

How to Make Milk Kefir – Step-by-Step Video